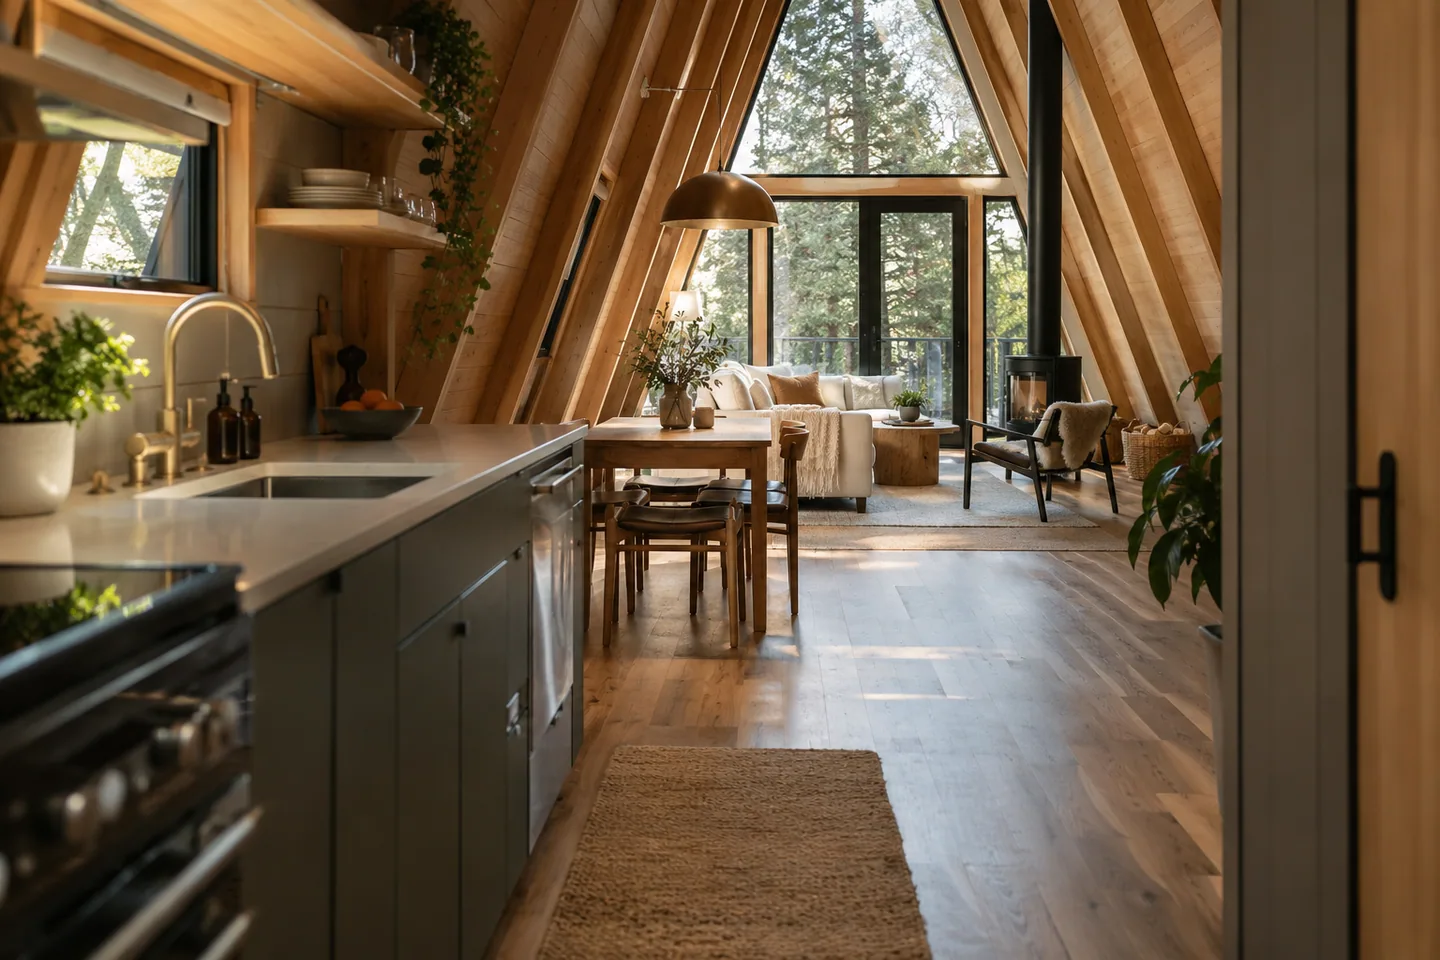
AI-generated cabin concept, used for illustration.
In this guide
Start with the clear standing zone and the route through the cabin. Then position the activities that need height, the spaces that need privacy and the low storage that can use the edges. Add furniture after those relationships work.
Set up a simple exercise
Use a hypothetical internal footprint 6 m wide and 8 m long, with a symmetrical roof reaching 5.2 m above the floor and no knee walls. This is a geometry exercise, not a construction plan. No structure, services, stairs or local compliance requirements have been resolved.
The footprint is 48 m². At a chosen 2 m headroom, the clear central width is about 3.69 m. Mark that band on the plan. It helps you see why the whole 6 m width should not be treated as unrestricted standing space.
You can change those dimensions in the space calculator and see what happens before spending time arranging furniture.
Give arrival a place
Choose a likely entrance location and draw a route from it to the main room. Reserve a practical spot for coats, shoes and bags. Do not let arrival storage become the same patch of floor needed to open the bathroom door or reach the stairs.
At this stage, use simple labelled rectangles. The entrance's exact detailing, exposure and accessibility need proper design later; the exercise is to avoid forgetting what happens when someone actually arrives.
Group activities that need standing height
Kitchen work, dressing, circulation and access to equipment all need usable height. Test those activities inside the marked band or against a suitably tall gable area. Place low drawers and selected seating closer to the sides where appropriate.
Think about the person as well as the fixture. A sink may fit under a slope, but someone using it still needs headroom. A cupboard may fit neatly while its open door occupies the walking route.
Decide how much privacy you need
Test an enclosed sleeping area against an open arrangement. Draw the bed at full size and check the route around it. If adding a partition reduces daylight or circulation elsewhere, record that consequence instead of hiding it in a pretty diagram.
If you are exploring a loft, mark both its floor elevation and the area above your chosen headroom. Subtract the space needed for stairs, a landing and openings once they are properly designed. The calculator's gross loft area does not make those deductions.
Add the everyday furniture
Put the sofa, dining table, chairs and any desk into the plan using real dimensions. Show doors and drawers open. Walk through a day when the cabin is fully occupied and the weather keeps everyone indoors.
Try three arrangements instead of refining the first one immediately. In each version, record one thing that works and one compromise. This makes comparison easier than judging the layouts only by how spacious their empty drawings look.
Turn the exercise into a design brief
Bring the preferred arrangement, assumptions and unresolved questions to the appropriate designer. Ask them to test it against the actual construction, services, site and requirements. Keep the diagram labelled “concept” until that work is done.
For the next pass, use the furniture guide and the sloped-wall storage ideas. They help you test the low-level details that make a small layout useful.