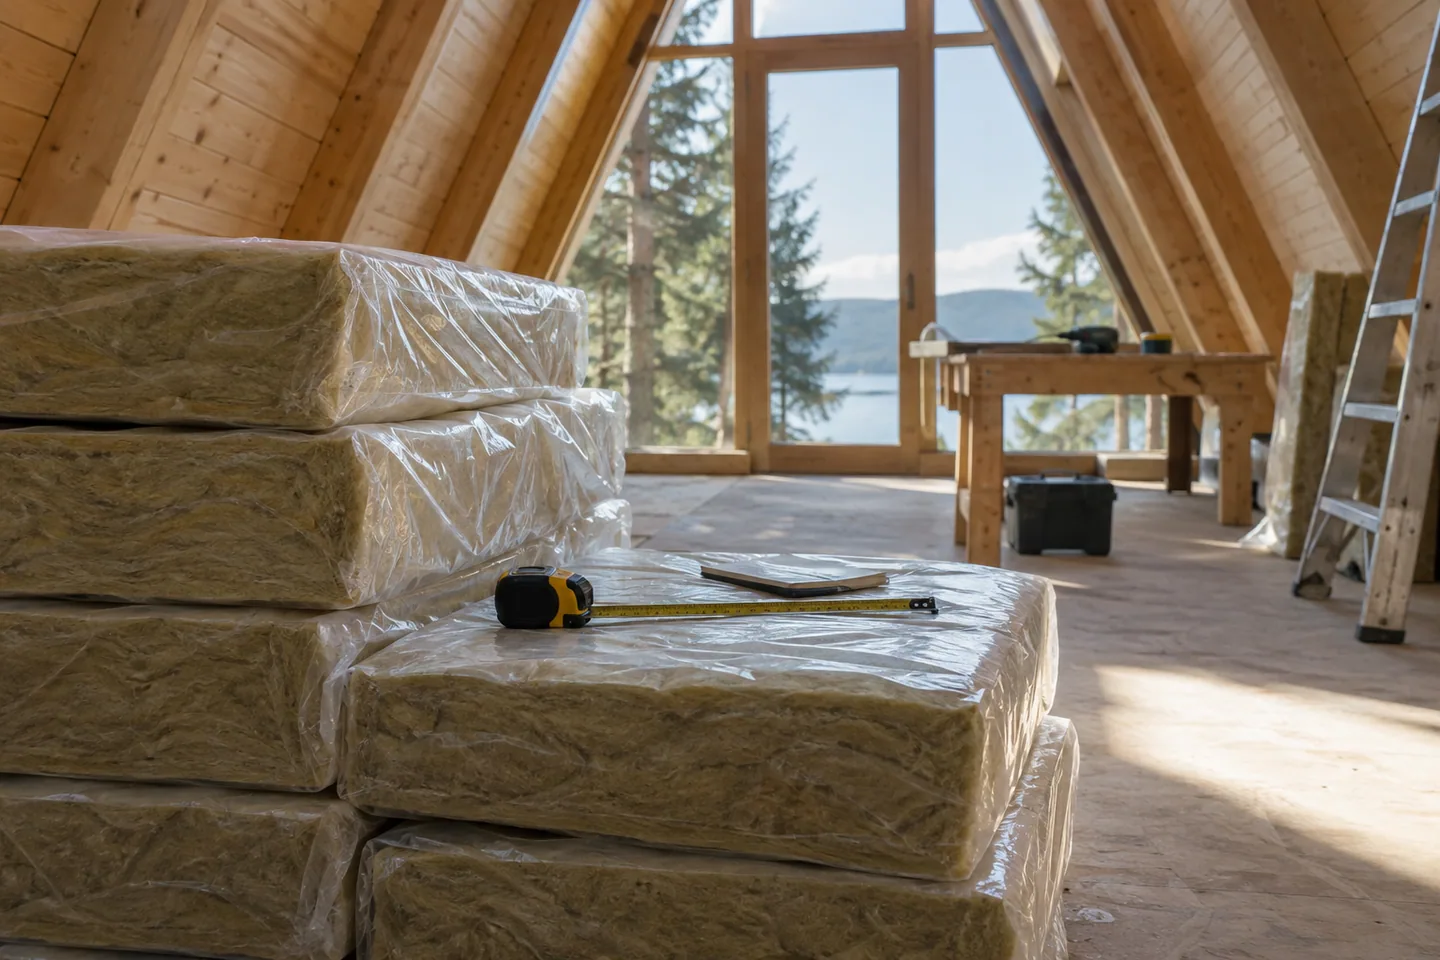
AI-generated cabin concept, used for illustration.
In this guide
An insulation quantity estimate starts after the material, thickness and assembly have been specified. Measure the surfaces to be insulated, account for openings and use the coverage shown for the exact product you intend to buy.
Keep design and quantity separate
Choosing an insulation assembly involves more than filling the space between timbers. Ask the responsible professional to resolve the thermal, air-control and moisture details for the building and climate. A calculator cannot choose those details from the cabin's floor area.
ENERGY STAR's attic guidance discusses air sealing and ventilation as considerations around insulation work. An A-frame's sloping assembly is not automatically the same as the attic shown in a general guide; have the actual construction assessed.
Once the specification is established, a quantity worksheet becomes useful. Its job is to translate a chosen design into a purchasing question.
Measure the right surfaces
List the sloping roof surfaces, gable areas, floor areas and any other included elements separately. Record whether the dimensions are gross or already deduct openings. A surface previously measured net should not have the same openings subtracted again.
For a simple roof, the roof-area calculator can help with an early geometric estimate. Its result may still need adjustment for the actual insulation boundary, framing and construction details.
Read the pack information closely
Check the product name, dimensions, thickness, quantity of pieces and stated coverage. Products in the same range can have different coverage per pack at different thicknesses. Use the coverage printed for the selected product rather than copying a number from another listing.
Also ask about packaging increments and minimum orders. The calculated number of packs is an area-based estimate; a detailed cutting plan can change what you need for the actual bays and surfaces.
Work through an example
Suppose the specified surface is 100 m² gross and openings total 12 m². The net area is 88 m². With a chosen 10% cutting allowance, the planning coverage becomes 96.8 m².
If the selected pack covers 5 m², 96.8 ÷ 5 = 19.36 packs, so the estimate rounds up to 20 whole packs. At 150 mm thickness, the coverage including allowance represents 14.52 m³ of insulation volume. These figures demonstrate arithmetic only; they do not recommend that thickness or allowance for your roof.
Reproduce the example in the insulation quantity estimator. Thickness remains labelled in millimetres even when area inputs use square feet.
Treat additional layers explicitly
If the design has two layers with different products or orientations, calculate them separately. Do not simply double a pack count unless the coverage, cuts and specification are genuinely the same.
Before ordering, give the supplier the surface schedule and product specification. Ask them to check effective coverage, cutting waste and any accessories. Keep the final quantities with the agreed assembly drawings so a later product substitution does not silently change the design.